
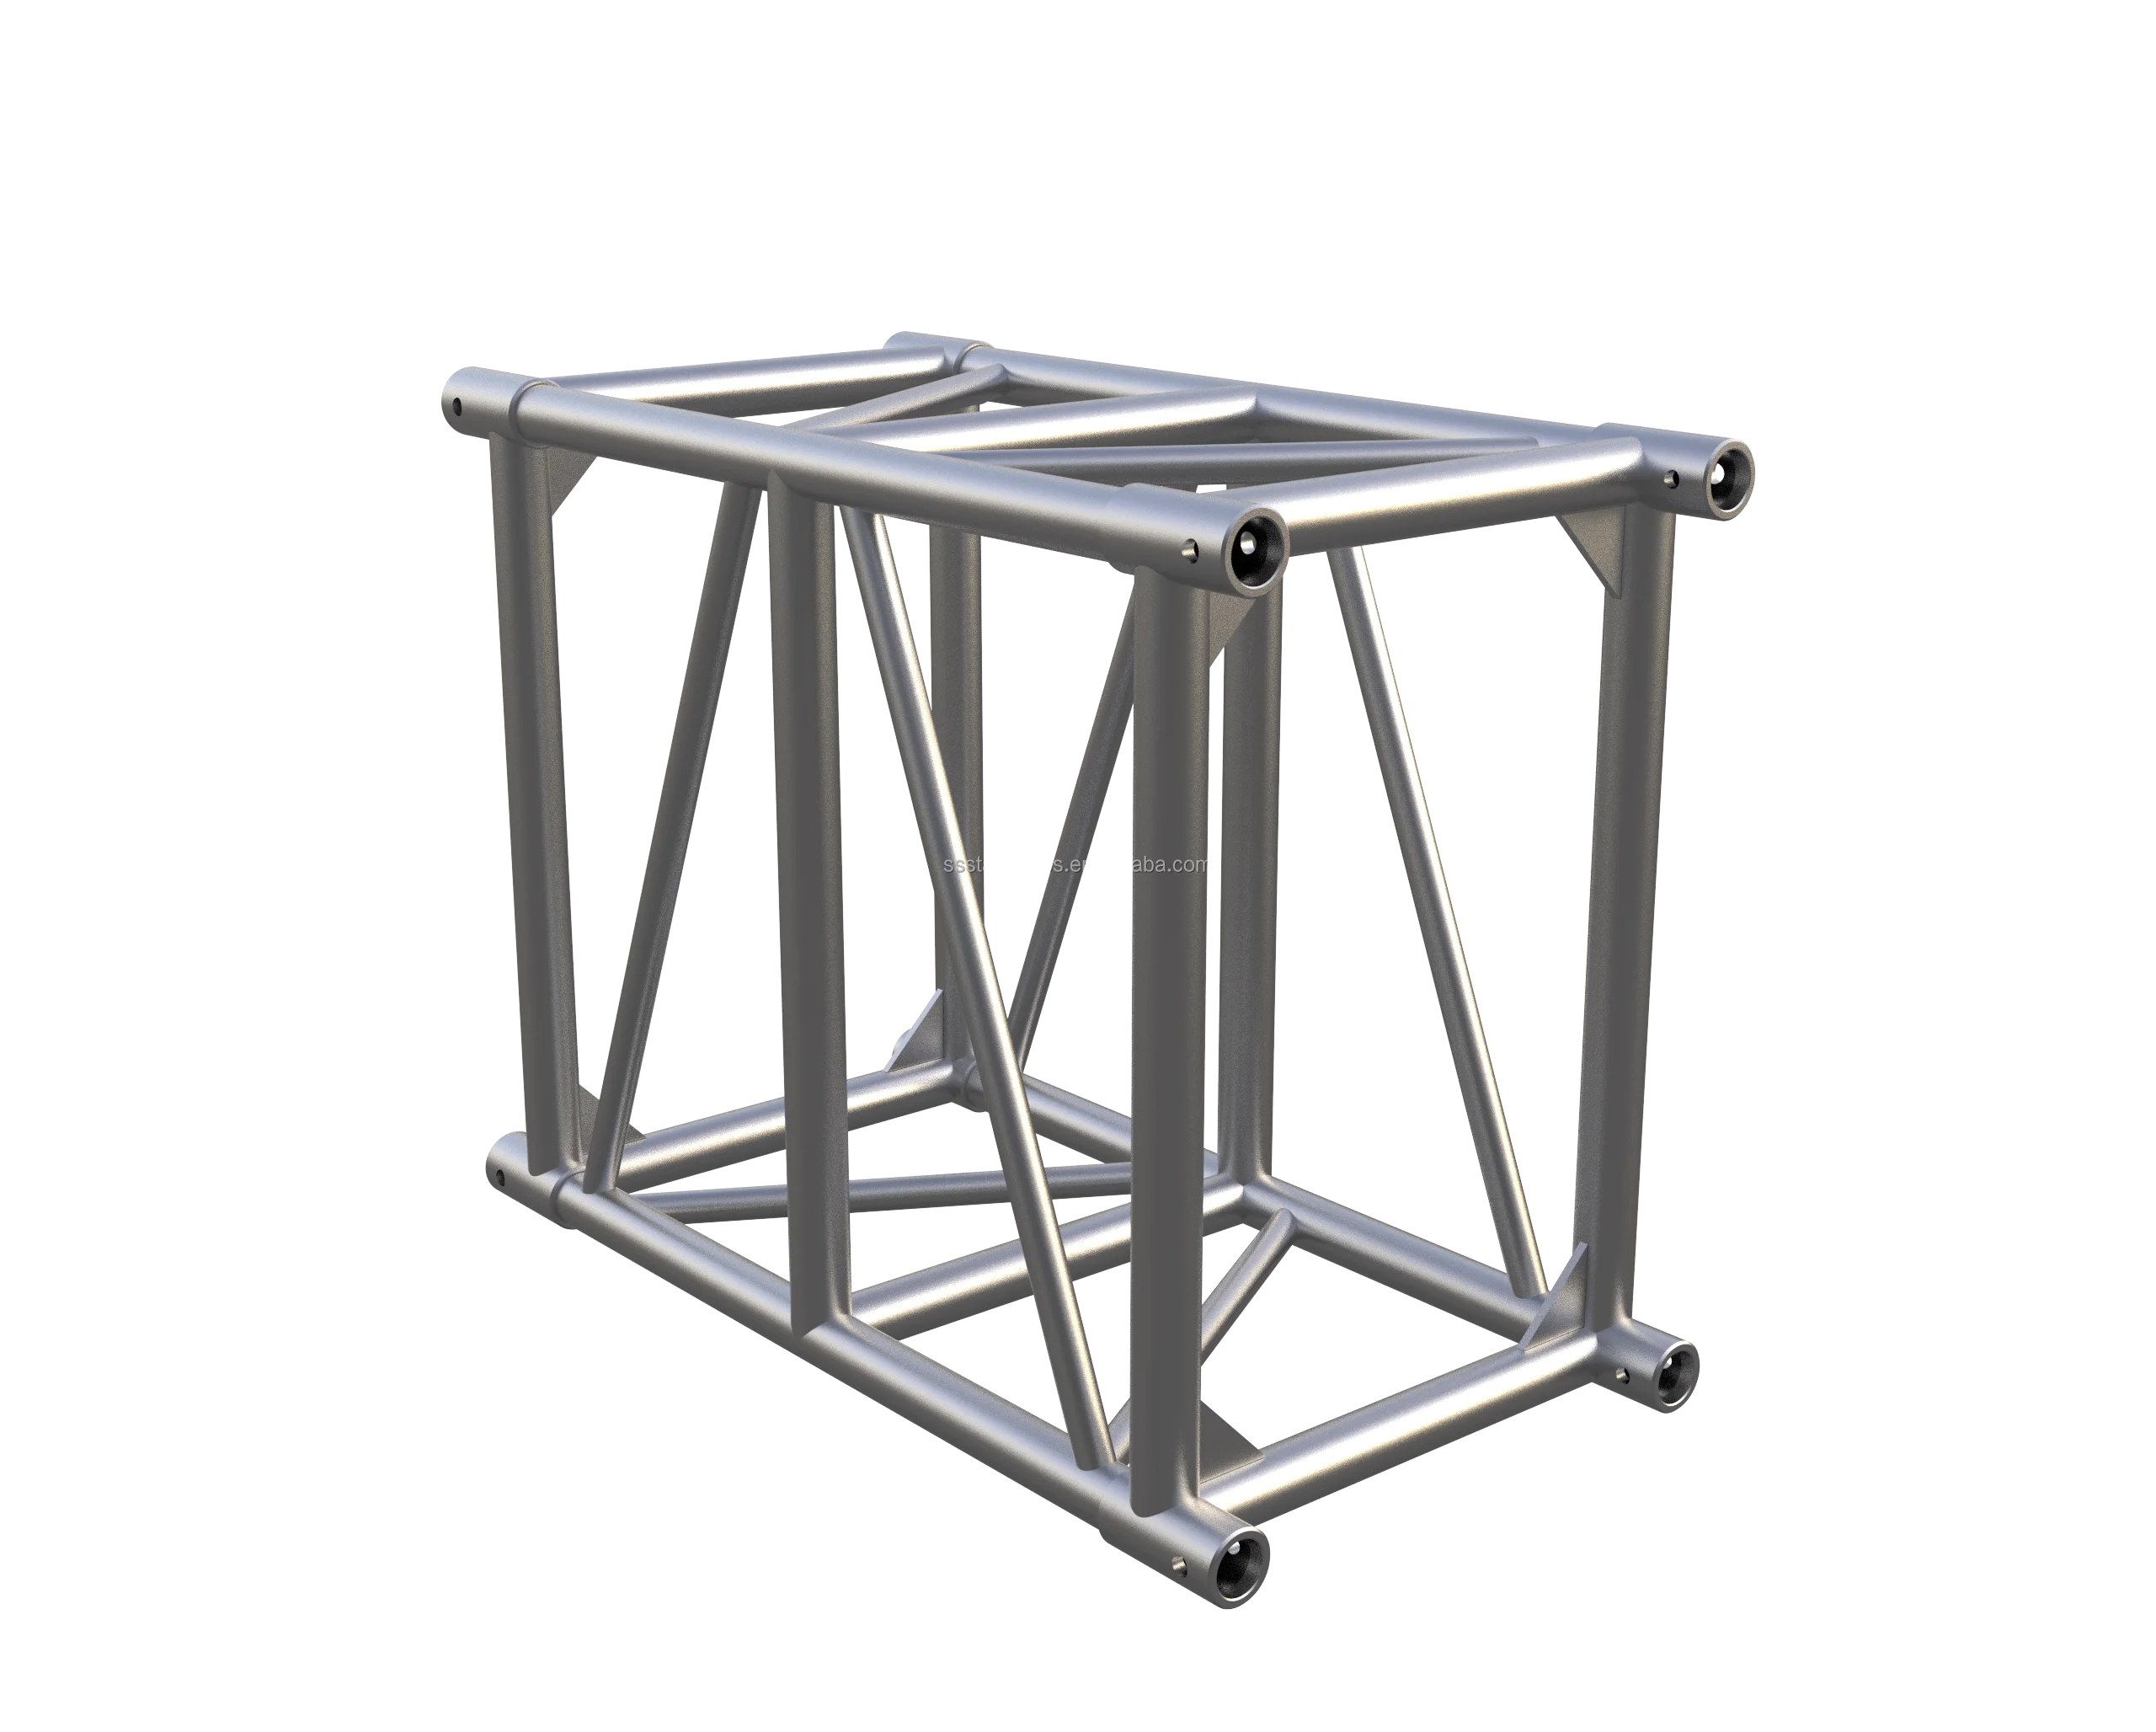
Assembling a bolt truss is a critical task in construction, engineering, and various architectural applications. Bolt trusses provide strong, stable frameworks that support roofs, bridges, towers, and other structures. Understanding the proper bolt truss process is essential for safety, structural integrity, and efficiency. This guide offers a detailed, step-by-step approach to assembling a bolt truss, breaking down complex procedures into manageable actions suitable for professionals and enthusiasts alike.
Understanding the Components of a Bolt Truss
Before beginning the assembly, it is important to familiarize yourself with the components involved. A typical bolt truss consists of chord members, web members, gusset plates, bolts, nuts, washers, and sometimes additional reinforcements or stiffeners depending on design specifications. Chord members are the main horizontal or inclined elements forming the truss’s outer frame, while web members connect these chords internally, providing support and distributing loads.
Gusset plates are flat steel plates that join the chord and web members at the joints. These plates are essential for transferring forces and ensuring the stability of connections. Bolts, nuts, and washers are the hardware that fastens the members to gusset plates and to each other, making the entire assembly rigid and secure.
Preparation and Safety Measures
Proper preparation is key to a smooth assembly process. Begin by reviewing the engineering drawings, specifications, and assembly instructions thoroughly. Confirm that all components are present and match the design requirements. Inspect all parts for damage, corrosion, or manufacturing defects. Having a checklist to verify the inventory of bolts, nuts, washers, plates, and truss members can prevent delays later.
Safety should never be overlooked. Wear appropriate personal protective equipment such as gloves, safety glasses, steel-toed boots, and hard hats. Work in a clear, stable environment, free of hazards. If the truss is to be assembled at height, ensure proper scaffolding, harnesses, and fall protection are in place. Clear communication among team members is vital to avoid accidents during lifting and positioning.
Step 1: Organizing the Workspace and Components
Begin by setting up a clean, spacious area for the assembly. Lay out all truss members, gusset plates, and hardware in a logical order according to the assembly sequence. Organize bolts, nuts, and washers in labeled containers or trays to keep them accessible and prevent loss.
If the truss is large or heavy, prepare lifting equipment such as cranes, hoists, or forklifts. Position these devices safely and ensure operators are trained. Having a dedicated team member responsible for tools and hardware management can improve workflow efficiency.
Step 2: Assembling the Bottom Chord
The bottom chord forms the base of the truss and is typically the first component to be assembled. Lay the chord members flat on supports such as sawhorses or assembly tables. Position gusset plates at the designated joint locations on the chord.
Align the web members that connect to the bottom chord at these joint points. Before inserting bolts, check the fit of the gusset plates to ensure they sit flush against both the chord and web members. Misalignment at this stage can cause problems during full assembly.
Insert bolts through the gusset plates and chord and web members. Use washers to distribute the load and prevent bolt heads or nuts from damaging the steel surfaces. Hand-tighten nuts initially to keep the parts loosely connected but adjustable.
Step 3: Adding the Web Members
With the bottom chord and initial gusset plates partially connected, begin installing the web members. These diagonal or vertical members form the internal framework of the truss, providing strength and load distribution.
Fit the ends of the web members into their respective gusset plates and align bolt holes carefully. Insert bolts and hand-tighten nuts. Work methodically along the bottom chord to add all web members connected at that level.
Check for any gaps or misalignments as you progress. If any parts do not fit correctly, pause to identify the cause—this could be due to manufacturing tolerances or damage during transport. Making adjustments early prevents rework after full tightening.
Step 4: Installing the Top Chord
Once the bottom chord and web members are in place, the next step is to attach the top chord members. These form the upper boundary of the truss and connect to the web members at various joints.
Position the top chord members so their ends rest on the gusset plates attached to the web members. Align bolt holes precisely and insert bolts with washers. As with previous steps, start by hand-tightening nuts to allow minor adjustments.
Ensure that the top chord members form the correct geometry and angles as specified in the design. Use measuring tools such as levels, squares, and angle finders to confirm that the truss shape matches the plans. This step is crucial because the truss’s load-bearing capacity depends on its exact shape.
Step 5: Preliminary Alignment and Adjustment
With all main members connected loosely, take time to perform a preliminary alignment check. This includes measuring diagonal lengths, verifying angles, and ensuring that all members lie in the same plane.
If the truss shows any twist or deformation, gently adjust the position of members and gusset plates before proceeding. Small misalignments can be corrected by loosening bolts and repositioning parts. It’s far easier to correct errors now than after fully tightening the hardware.
At this stage, make sure the truss’s overall dimensions correspond to the engineering specifications. Use measuring tapes, laser distance meters, or framing squares to verify lengths and angles.
Step 6: Tightening the Bolts
Once alignment is satisfactory, begin tightening the bolts systematically. The proper tightening sequence helps to evenly distribute forces and avoid warping the truss.
Start by tightening bolts on one side of the truss, moving sequentially from one end to the other. Then move to the opposite side and repeat the process. Use calibrated torque wrenches to apply the recommended torque values specified by the design or manufacturer. Over-tightening can damage threads or distort components, while under-tightening may cause loose connections.
Apply lock washers or thread-locking compounds if required to prevent nuts from loosening under vibration or dynamic loads. After the initial tightening, conduct a final inspection to ensure all bolts are secure and no components have shifted.
Step 7: Adding Additional Reinforcements or Stiffeners
Depending on the truss design, additional reinforcements such as stiffeners, bracing members, or gusset plate extensions may be necessary. These parts increase the rigidity and load capacity of the structure.
Install these components according to the design drawings, following similar procedures of alignment, bolting, and tightening. Check each reinforcement for proper fit and secure fastening.
Reinforcements often require precise positioning to function correctly, so use measuring tools and templates where provided.
Step 8: Final Inspection and Quality Checks
After completing the assembly and tightening process, perform a thorough final inspection. Verify the integrity of all connections, the condition of bolts and nuts, and the overall shape of the truss.
Look for signs of damage such as cracks, deformations, or missing hardware. Confirm that all fasteners meet the required torque values. Check that protective coatings or paint on the truss have not been compromised during assembly.
If the truss will be lifted or transported, verify that lifting points and rigging attachments are secure and comply with safety standards.
Step 9: Installation and Handling
Once the bolt truss is fully assembled and inspected, it is ready for installation. Depending on the project, the truss may be moved to the construction site using cranes, forklifts, or manual labor.
During handling, ensure that the truss is supported evenly to prevent bending or twisting. Use lifting slings or chains attached to designated lifting points. Avoid dragging the truss on rough surfaces to protect bolt connections and structural integrity.
Upon installation, the truss may be further secured with welds, additional bolts, or anchoring systems as per the design.
Tips for Efficient Bolt Truss Assembly
Efficient assembly requires teamwork, clear communication, and attention to detail. Assign specific roles such as bolt handler, alignment checker, or safety officer to streamline the process. Use assembly jigs or templates to speed up positioning and ensure accuracy.
Maintaining a clean work area free of debris or obstacles reduces risks and facilitates movement. Keeping bolts and nuts organized saves time searching for the right hardware.
Regularly consult assembly drawings and verify progress against specifications to avoid costly mistakes. Investing time in preparation and quality control ultimately results in a safer, stronger, and longer-lasting structure.
Conclusion
Assembling a bolt truss is a methodical process that combines careful preparation, precise alignment, and secure fastening. Each step, from laying out components to final tightening, plays a vital role in achieving a durable and safe framework. With proper tools, safety practices, and attention to detail, assembling a bolt truss becomes a manageable and rewarding task. Mastery of this process contributes to successful construction projects and robust structural performance.